Here is an easy DIY personalized picture art project.
You can use it to decorate your kids’ room and match it to the colors, hobbies and characters he or she likes.
You can also prepare family pictures and give it as a birthday or Holiday gift to your family and loved ones.
This is a quick and simple tutorial with a unique and personal result.
Step 1: What You Will Need
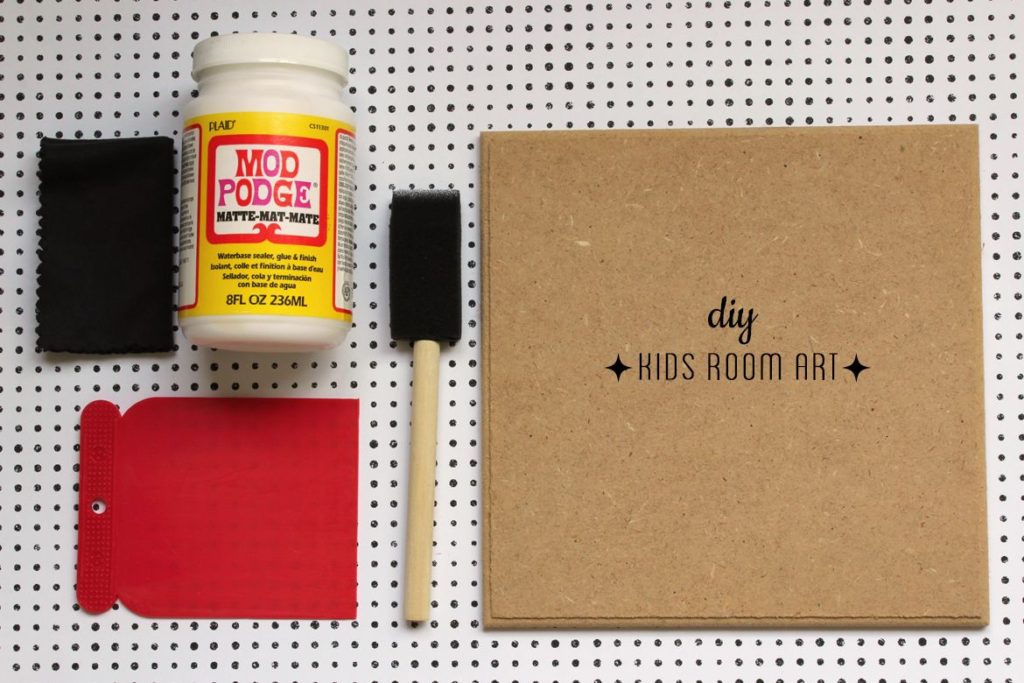
1. Wood board or wood block (i used 8X8 inch)
2. Mod-Podge matte glue
3. Foam brush from any diy store or the plaid set
4. Squeegee (you can use any piece of elastic plastic)
5. Piece of microfiber cleaning cloth
6. Inkjet printer

Step 2: Taking a photo and editing it
You can use a professional camera if you have one, but your smartphone can do the work as well. Take a picture of your kid or your kid’s favorite toys and hobbies; choose the best photo, use a photo editing software / online tool or app to add some glamor, resize it to your wood board size (make it a little bigger) and print it on a matte 120gr paper. A home inkjet printer is just perfect for this project.
Step 3: Glueing
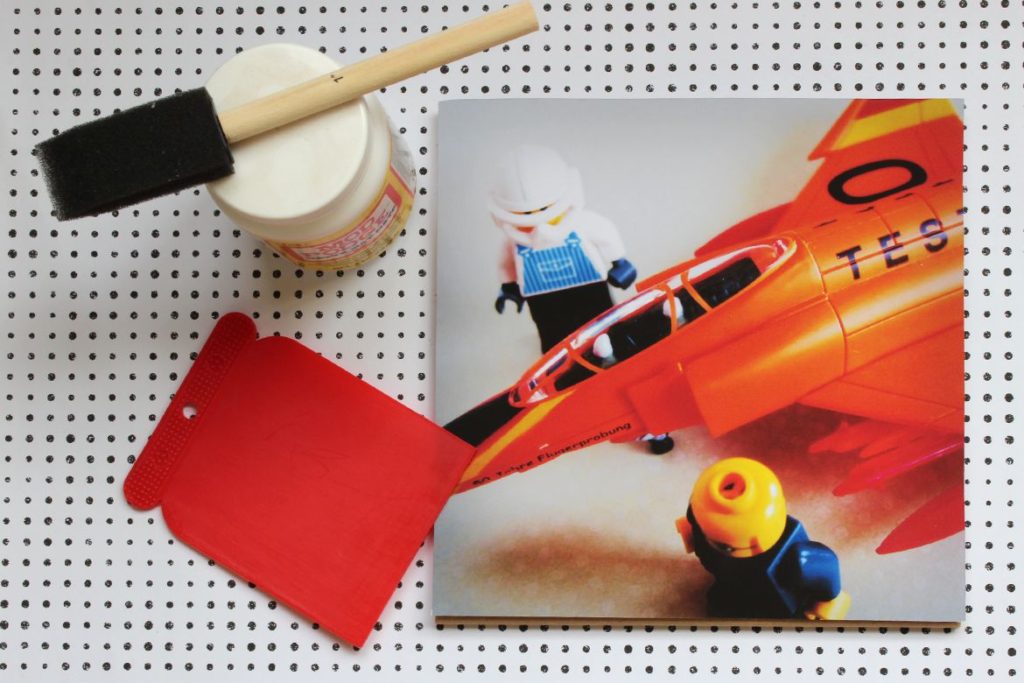
Spread a thin layer of Mod-Podge on the wood board with the foam brush and stick the printed photo quickly on the board. Use the squeegee and the cloth to remove air bubbles and let it dry for 2-3 hours. When it is dry, carefully cut the extra photo edges and use a fine sanding paper for perfect edges.

Step 4: Varnish
Apply a thin layer of Mod-Podge on the photo, don’t worry the white stains will become transparent once it is dry. You can add a coat of decoupage varnish as a second layer or use the Mod-Podge again.
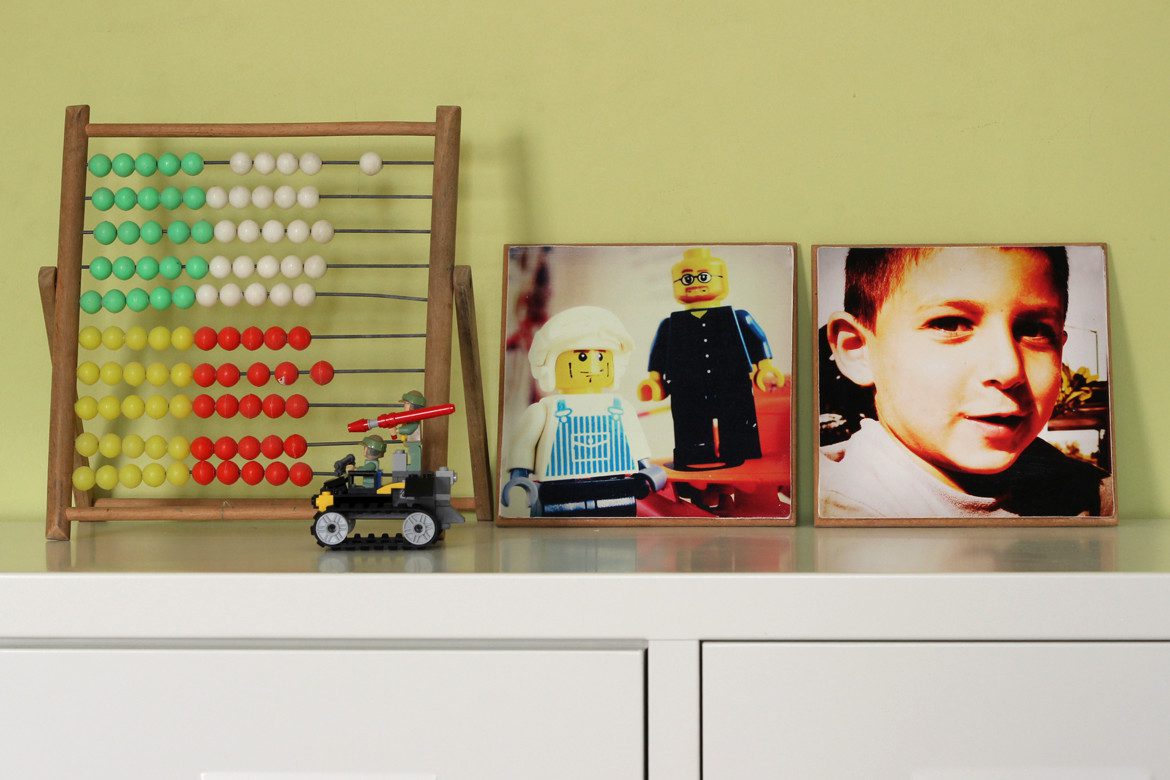
Let it dry for a day and you’re done – A new personalized art for your kid room done all by yourself!
Recommended free photo editing online tools:
Canva
PicMonkey
Pixlr
Check “Mod Podge Rocks” board on pinterest for inspiration and ideas
